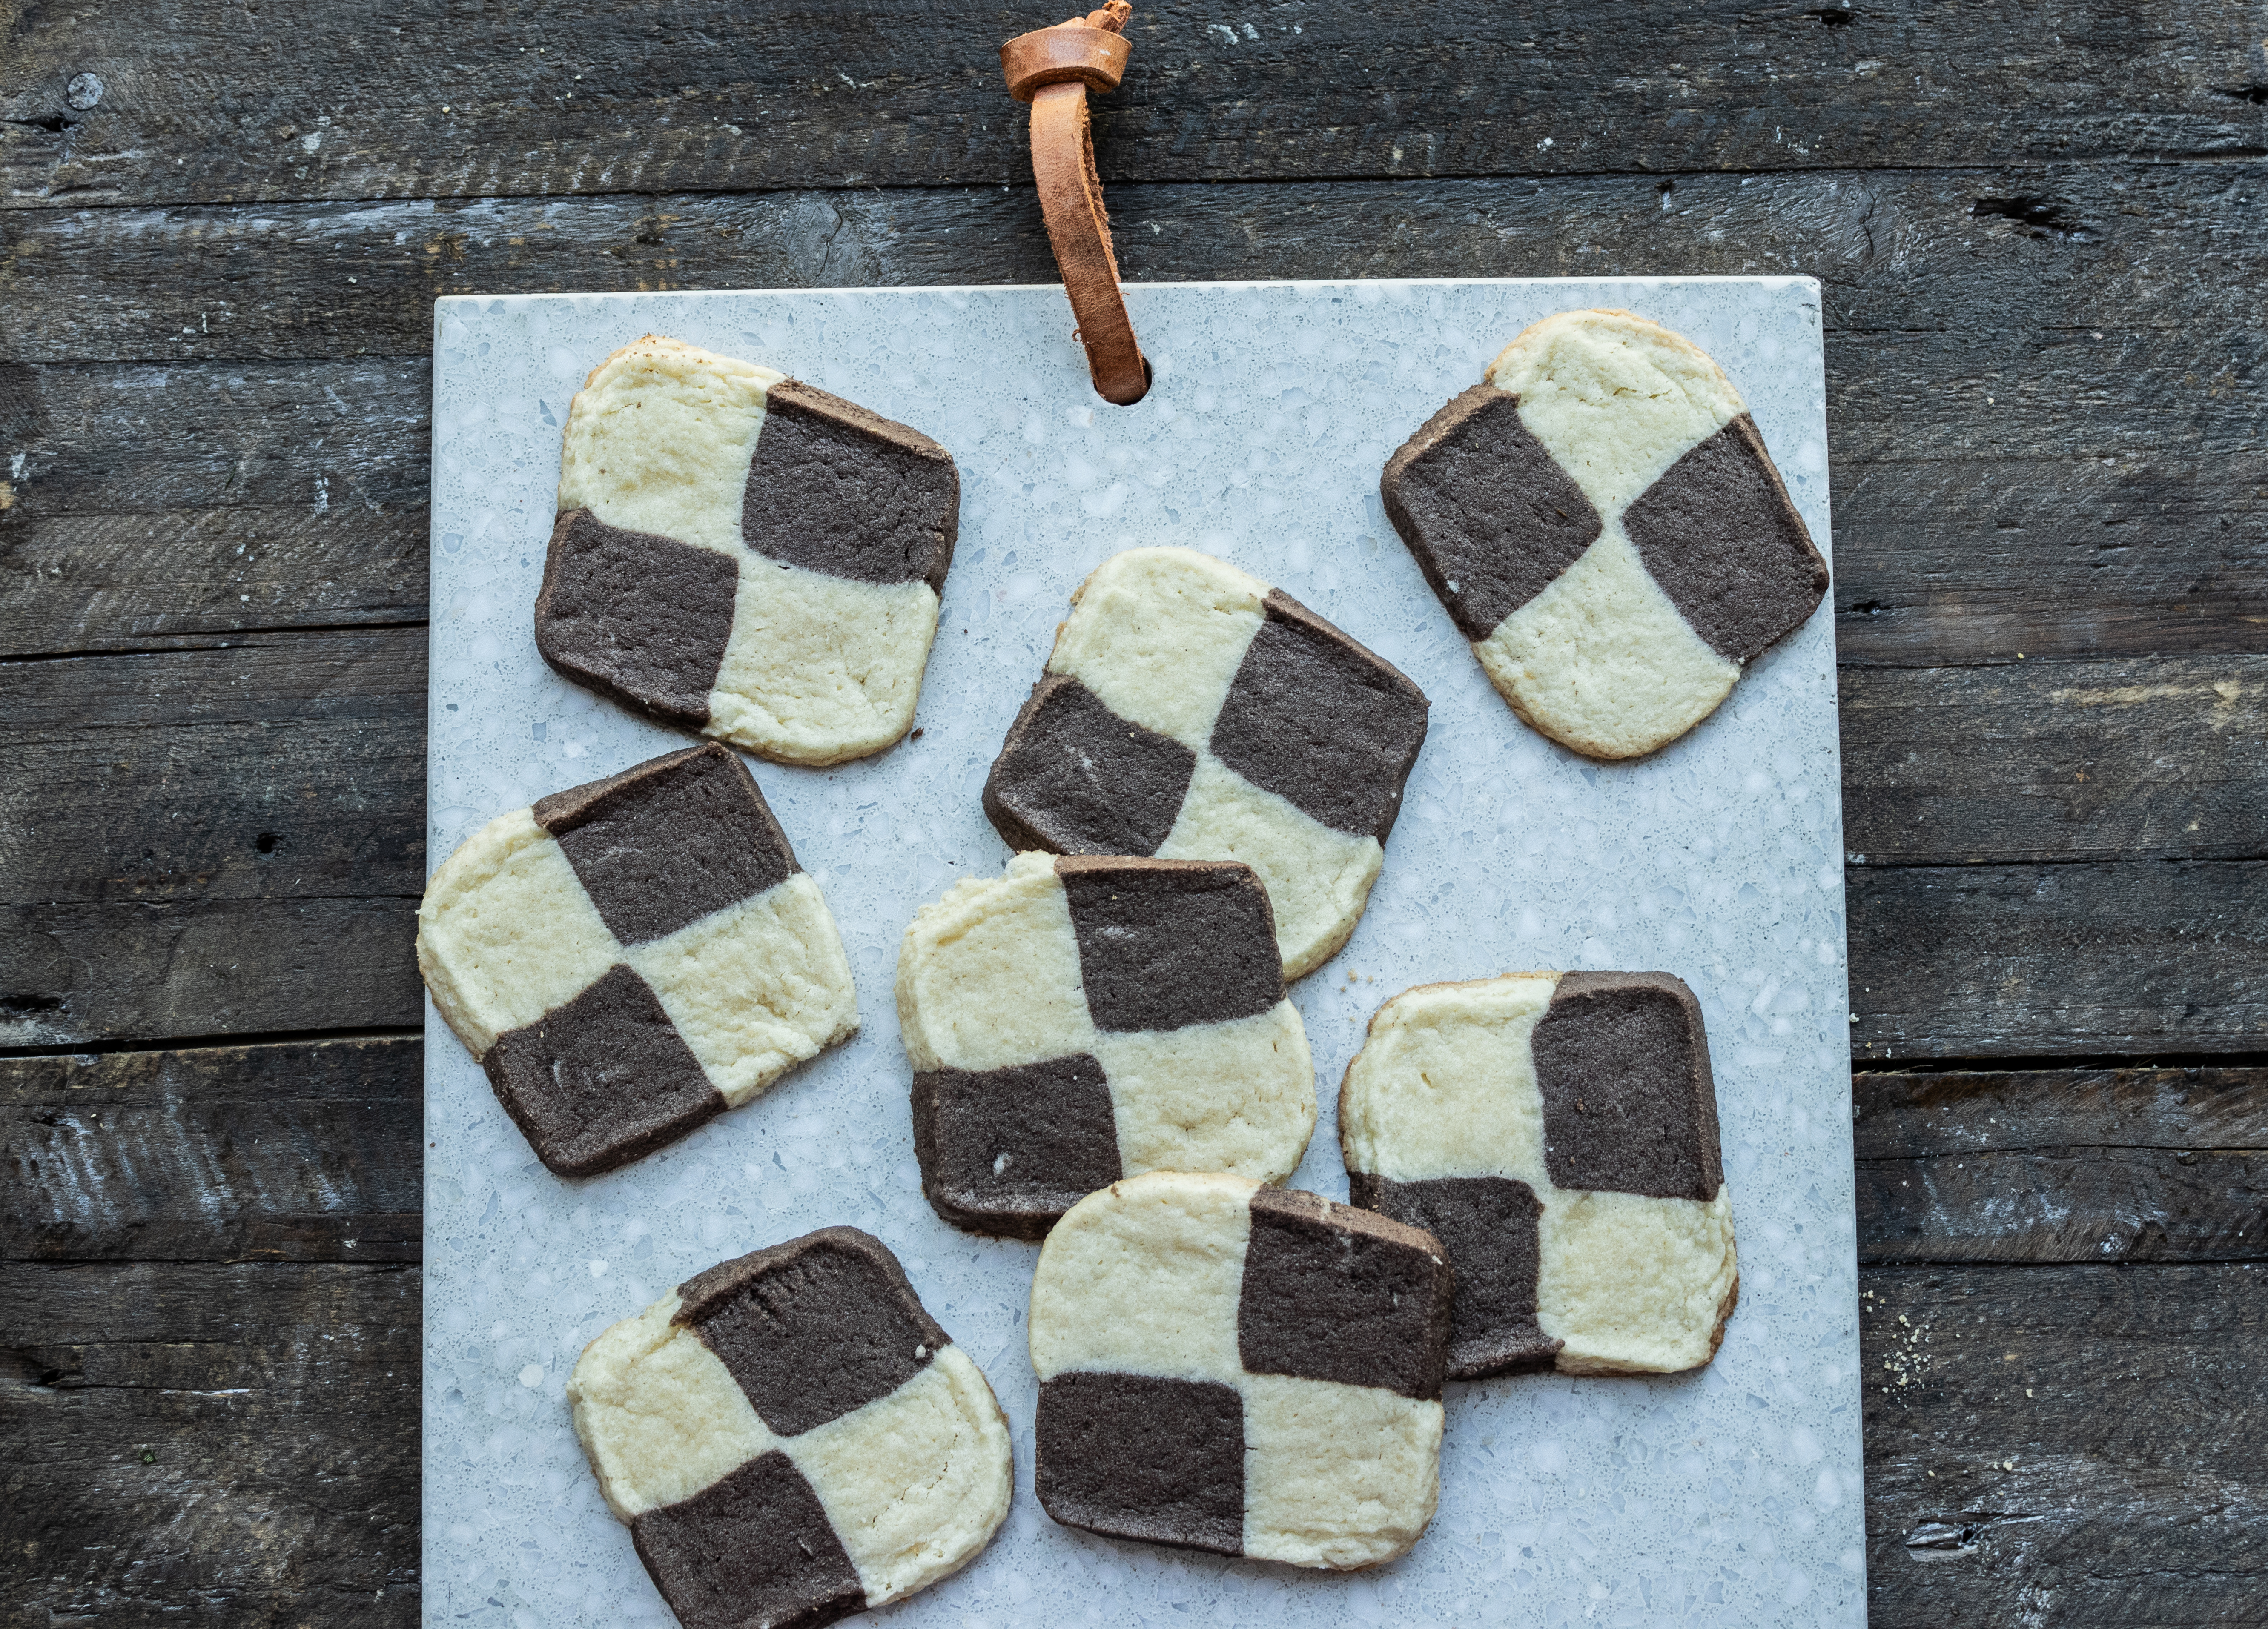
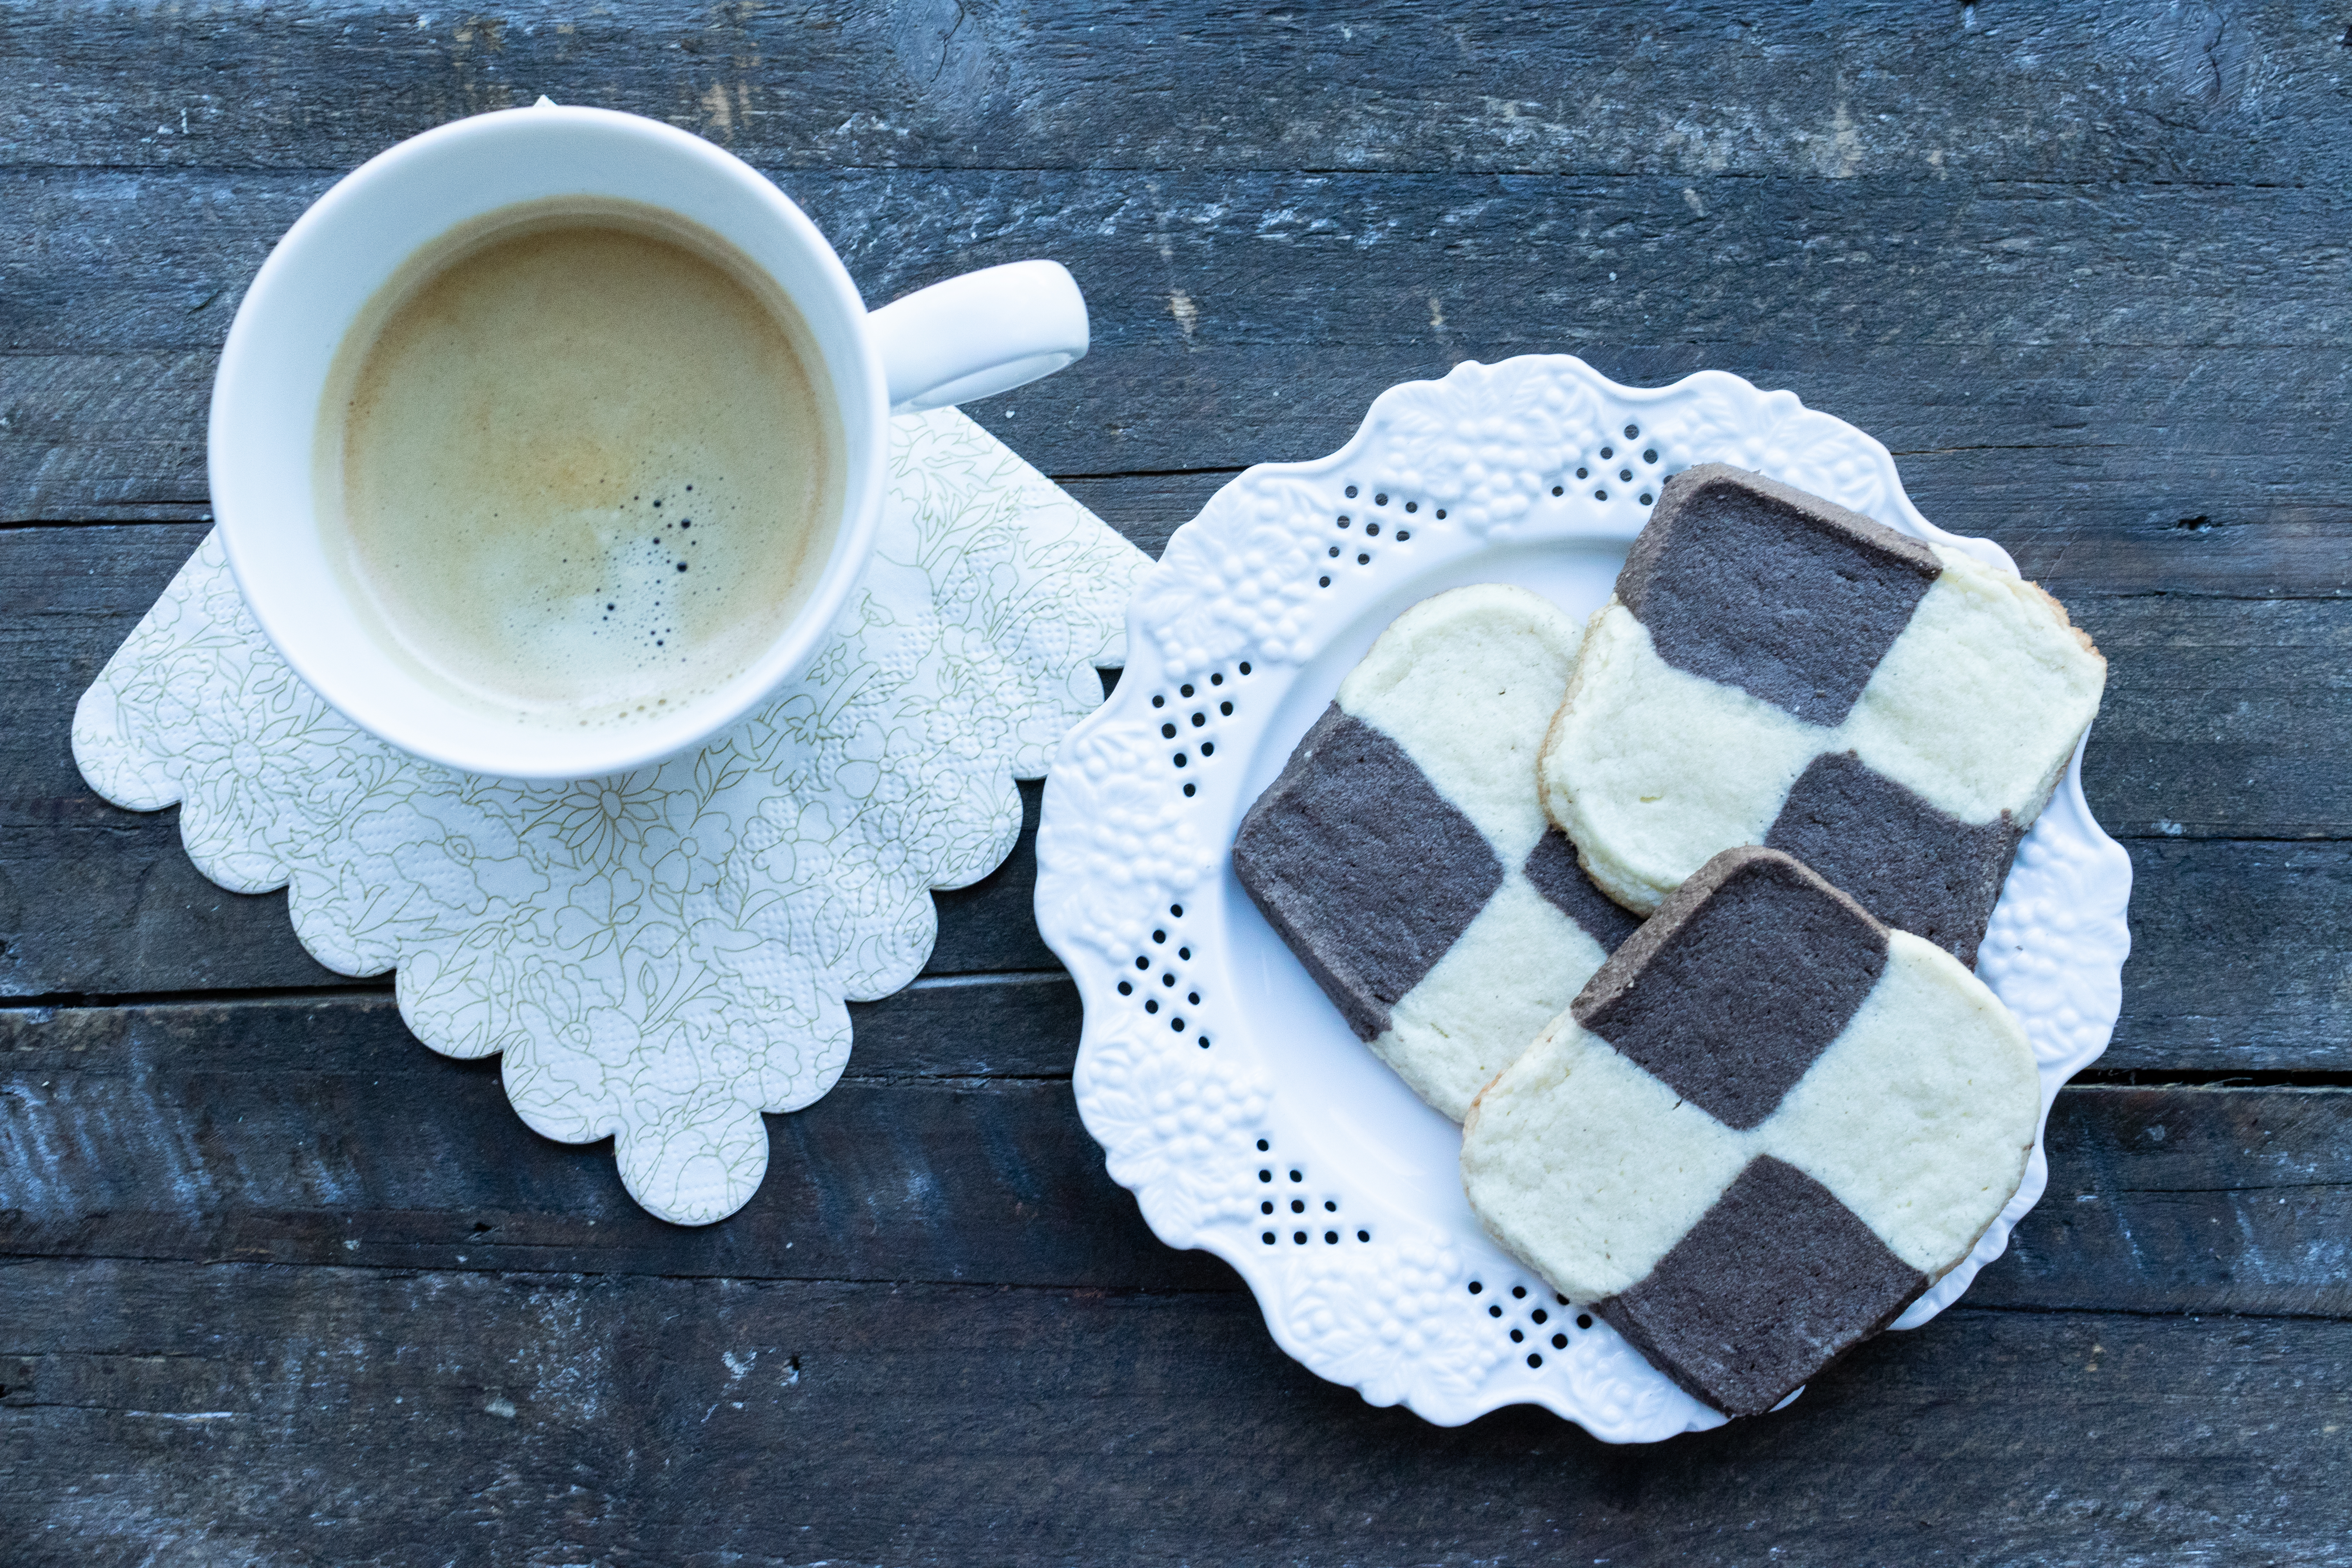
Every year when my kids were little I hosted a holiday cookie swap. I have always enjoyed baking as long as I can remember. One year, I made these checkerboard cookies as my contribution to the cookie swap. They look complicated to make but they are pretty easy to assemble, actually.
I love the way they look and taste.
A little vanilla and a chocolate cookie–all in one bite! My original checkerboard recipe has been modified a bit to make it gluten free and low FODMAP.
Thinking back a bit to my childhood, giving sweet treats was a love language in my home. My dad kept his emotions close to the vest…but would show his love via candy. 🙂
One of my favorite childhood memories is the sound of the ice cream truck driving through my neighborhood. To be very honest, if I missed the ice cream truck because I wasn’t fast enough to flag it down to stop it near my house…it was a VERY sad summer day for me. 🙁 I seriously lived and died by the ice cream truck in the summer. Ha! Because we always had a houseful of people (I am the youngest of nine kids), my Dad would give me twenty dollars for the ice cream truck. I would leave the ice cream truck with a box of different treats. My personal favorite was the Screwball, a frozen concoction with gum balls at the bottom on the cone shaped treat. Who leaves the ice cream truck with a box of ice creams and frozen treats? Me! The dietitian. 🙂
I enjoy a little sweet treat every day. I don’t go overboard. How about you?
If you’d like to make these cute low FODMAP checkerboard cookies, here is the recipe!
Ingredients
- 1 cup butter, room temperature
- 3/4 cup sugar
- 1/2 cup confectioner's sugar
- 1/4 teaspoon salt
- 2 large egg yolks
- 2 teaspoon vanilla
- 2 1/4 cup suitable gluten free flour blend (I used Bob's Red Mill Gluten free 1 to 1 flour blend)
- 2 tablespoons cocoa powder (I used Hershey's Dark chocolate cocoa)
Instructions
- In large bowl with electric mixer (or Stand mixer), beat butter and sugar and confectioner's sugar, and salt, until creamy.
- Add in egg yolks and vanilla, just to incorporate.
- Reduce mixer to low speed, and slowly add in flour blend until incorporated.
- Remove 1/2 of the dough, set it aside.
- Add in cocoa powder to the remaining dough, beat to incorporate into dough.
- On parchment paper, add the plain dough.
- Roll out the plain dough into a rectangle that is 10 inches by 2 inches in width.
- On a separate piece of parchment paper, roll out the chocolate dough into a rectangle that is 10 inches by 2 inches in width.
- Take the chocolate dough and carefully add to the top of the plain dough, slightly pushing together.
- Wrap up dough lightly in parchment paper, maintaining the rectangular shape and place on flat surface in the refrigerator. Let set for at least 2 hours or overnight.
- When firm, remove dough from the refrigerator.
- Cut dough in 1/2 lengthwise --and flip one portion of the dough over on top of the other so that their is a checkerboard pattern on the side of the dough.
- Slightly push the dough pieces together to create a square shaped dough with checkerboard pattern.
- Preheat oven to 350 degrees F.
- Slice dough into 1/4 inch slices. Place about 2 inches apart as the dough does spread out when cooking.
- Bake about 10-12 minutes. Cookies should be slightly brown on the sides.
- Let cook completely.
- (You can freeze any leftover dough if you choose to bake cookies in batches or keep in the refrigerator for 3-5 days)


